E-mail seo@sino-purification.com

Time:2025-02-08 11:22:21 Reading volume:
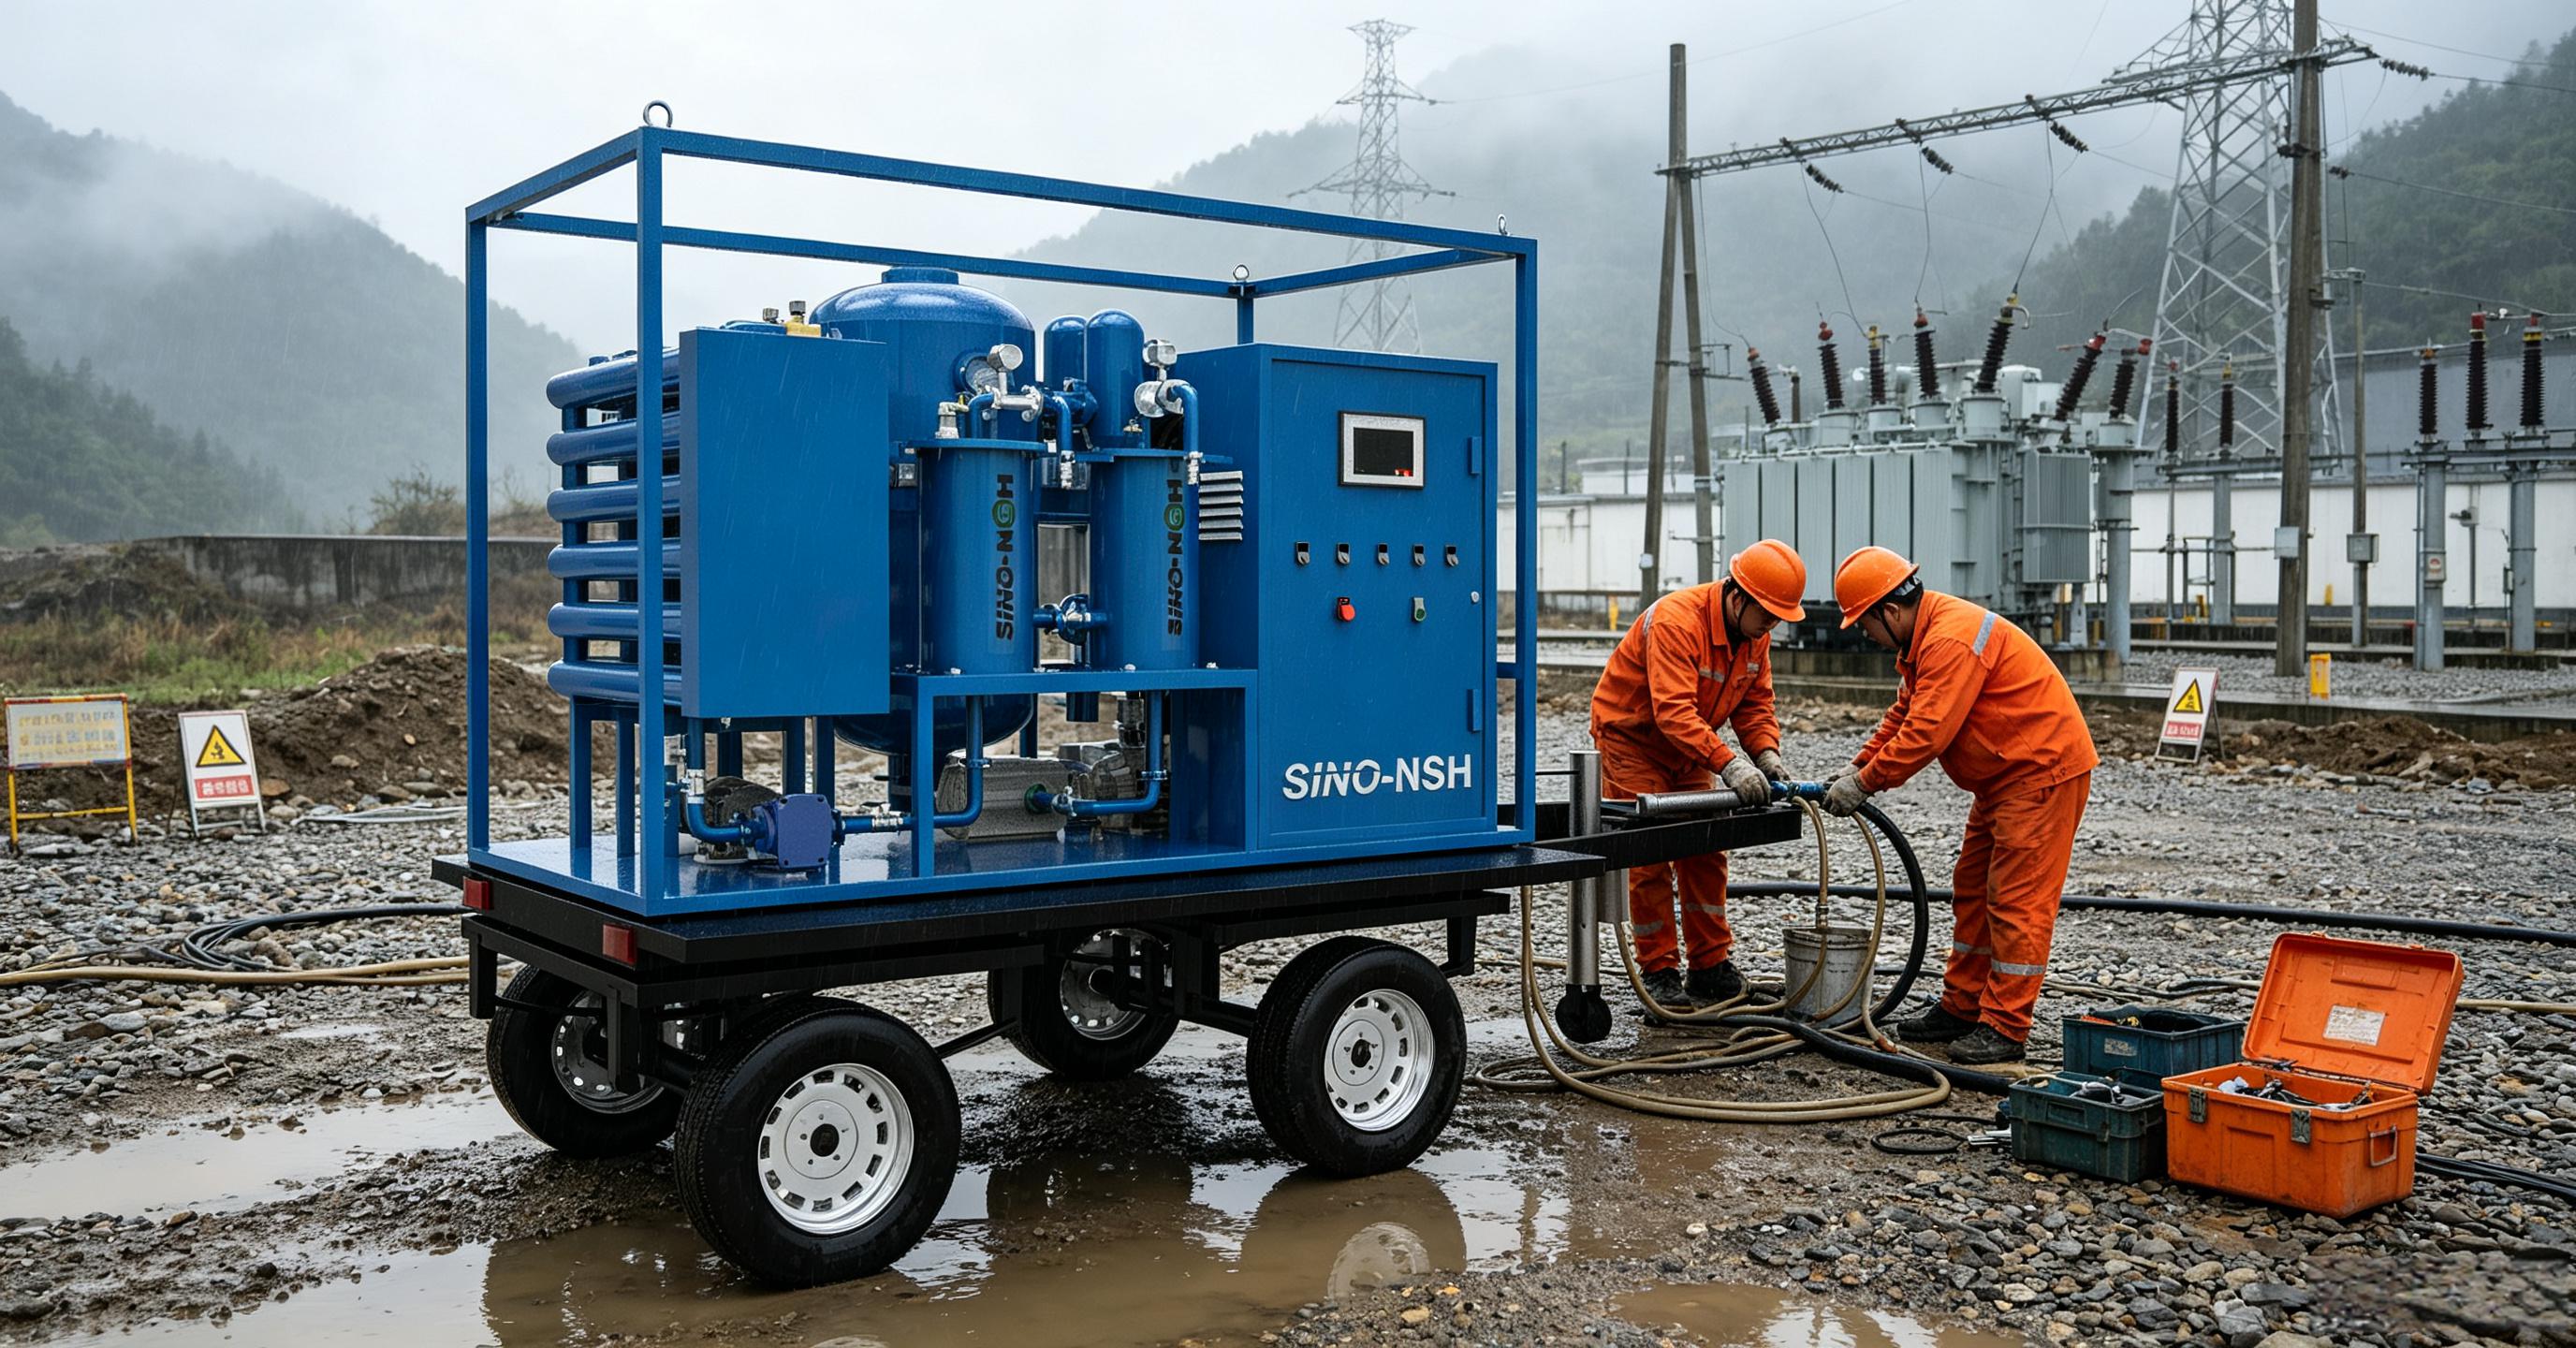
Installing an oil purifier after purchase involves several steps to ensure it operates efficiently and safely. Here’s a comprehensive guide to help you through the installation process:
1. Preparation
- Read the Manual: Carefully read the user manual provided by the manufacturer for specific instructions and safety guidelines.
- Inspect the Equipment: Check the oil purifier for any damage that may have occurred during transportation.
- Gather Tools: Ensure you have all necessary tools and equipment for installation, such as wrenches, screwdrivers, and piping materials.
2. Choose the Installation Location
- Stable Surface: Place the oil purifier on a stable, level surface to prevent vibrations and ensure proper operation.
- Ventilation: Ensure the area is well-ventilated to avoid the accumulation of fumes.
- Accessibility: Choose a location that allows easy access for maintenance and operation.
3. Connect the Piping
- Inlet and Outlet Connections: Connect the inlet and outlet pipes to the oil purifier. Ensure the connections are tight and secure to prevent leaks.
- Pipe Material: Use pipes made of materials compatible with the type of oil being purified (e.g., stainless steel for high-temperature oils).
- Valves and Fittings: Install necessary valves and fittings to control the flow of oil.
4. Electrical Connections
- Power Supply: Ensure the power supply matches the specifications of the oil purifier (e.g., voltage, frequency).
- Grounding: Properly ground the equipment to prevent electrical hazards.
- Circuit Breaker: Install a circuit breaker or fuse for added safety.
5. Initial Setup
- Fill with Oil: If required, fill the oil purifier with the appropriate type and amount of oil as specified in the manual.
- Check Seals: Inspect all seals and gaskets to ensure they are properly fitted and not damaged.
6. Test Run
- Power On: Turn on the power supply and start the oil purifier.
- Monitor Operation: Observe the machine for any unusual noises, vibrations, or leaks.
- Check Performance: Ensure the oil purifier is operating within the specified parameters (e.g., flow rate, temperature).
7. Calibration and Adjustment
- Calibrate Sensors: If your oil purifier has sensors or control systems, calibrate them according to the manufacturer’s instructions.
- Adjust Settings: Set the desired parameters for oil purification, such as temperature and flow rate.
8. Safety Checks
- Emergency Stop: Ensure the emergency stop button is functional and easily accessible.
- Safety Guards: Install any necessary safety guards or covers to protect moving parts.
9. Documentation and Training
- Record Installation: Document the installation process, including any adjustments made.
- Train Operators: Provide training for operators on how to use and maintain the oil purifier safely and effectively.
10. Regular Maintenance
- Scheduled Checks: Establish a maintenance schedule to regularly inspect and service the oil purifier.
- replace Filters: Regularly replace filters and other consumable parts as recommended by the manufacturer.
By following these steps, you can ensure a successful installation of your oil purifier, leading to efficient and safe operation. Always refer to the manufacturer’s guidelines for specific instructions related to your model.