Installing a transformer oil filter (or oil purification system) involves several steps to ensure the system operates efficiently and safely. Proper installation is critical to maintaining the transformer’s oil quality, preventing contamination, and extending the transformer’s lifespan. Below is a step-by-step guide on how to install a transformer oil filter, including the necessary preparations, equipment, and safety considerations.
Pre-Installation Preparation:
Understand the System Requirements
- Review the manufacturer’s manual for the oil filter or purification system to ensure correct installation procedures, specifications, and safety precautions.
- Determine the type of system (e.g., vacuum dehydration, centrifugal filtration, regenerative purification) and ensure that the selected filter is compatible with the transformer oil and its contamination level.
- Make sure that the system is rated for the volume of oil to be processed and can handle the oil flow rate.
Ensure Proper Equipment and Tools
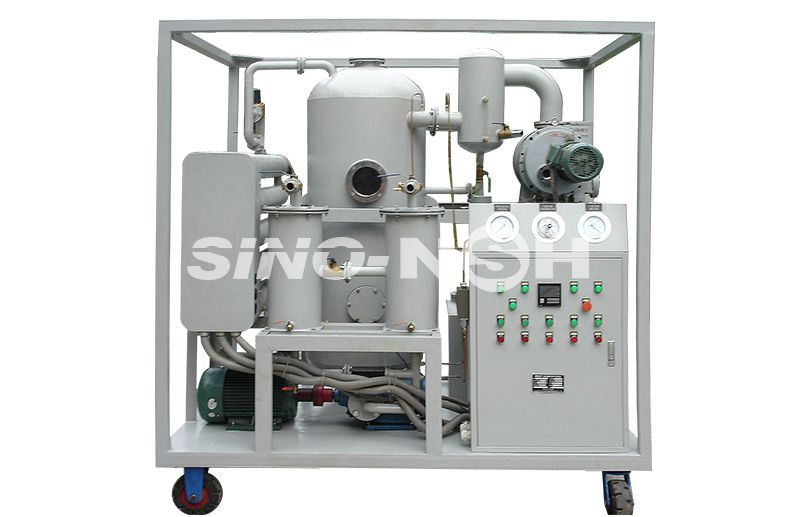
- Oil filter system: The unit may include a vacuum pump, filtration elements, coalescing filters, or adsorption material, depending on the type of system.
- Piping and hoses: Ensure you have the necessary piping, flexible hoses, connectors, and adapters for connecting the filter to the transformer and oil reservoir.
- Power supply: Ensure there is a proper power source available for the system, especially for vacuum pumps or other electrically-powered components.
- Safety equipment: Wear gloves, goggles, and other personal protective equipment (PPE) for safety during installation and operation.
select the Installation Site
- Choose a well-ventilated and dry area to install the filtration system, ensuring the machine is not exposed to extreme temperatures, moisture, or dust.
- Make sure the installation area has adequate space for the filter unit and any required accessories (e.g., pumps, tanks, hoses).
- Check that the site has an appropriate drainage system or collection containers for waste oil, sludge, or water removed during the purification process.
Step-by-Step Installation Process:
1. Turn Off Transformer and Disconnect Power
- Safety first: Before performing any work on the transformer, ensure that the transformer is turned off, and any power supply is disconnected.
- Lockout/tagout procedures should be followed to prevent accidental energization.
2. Position the Oil Filter Unit
- Place the oil filtration system close to the transformer, ensuring it's accessible for routine maintenance and monitoring.
- The system should be positioned levelly to prevent any uneven flow or operational issues.
3. Connect the Inlet and Outlet Hoses
- Inlet hose: Connect the inlet hose or pipe from the transformer oil tank to the input side of the oil filtration unit. This is the line that will carry contaminated oil into the filter for purification.
- Outlet hose: Connect the outlet hose or pipe from the output side of the filter unit to the transformer’s oil reservoir or storage tank. The purified oil will flow back into the transformer or a separate clean oil storage container.
- Ensure that all hose connections are tight and leak-proof.
4. Connect the Power Supply (if applicable)
- If the oil filtration system has electrical components (such as a vacuum pump or motor-driven filtration system), connect the unit to a suitable power supply.
- Make sure the system’s voltage rating matches the available electrical supply to avoid damage or malfunction.
- Test the power connection before starting the system to ensure everything is working correctly.
5. Install Additional Filters or Regeneration Materials (if required)
- If your system uses additional filter elements or adsorbents (such as Fuller’s Earth or activated carbon), install these according to the manufacturer’s instructions.
- Ensure that the adsorbent materials are properly placed inside the filter housing, and that the flow path is not obstructed.
6. Install and Check the Vacuum Pump (for vacuum-based systems)
- For systems that require vacuum (e.g., vacuum oil purifiers), install the vacuum pump according to the manufacturer’s instructions.
- Make sure the vacuum gauge and other monitoring equipment are installed properly for performance verification.
- Test the vacuum system before use to ensure it creates the required vacuum pressure for moisture and gas removal.
7. Connect the Oil Reservoir (if applicable)
- If your system uses an external oil reservoir, connect it to the purification system. This may involve connecting pipes or hoses that allow the oil to be drawn into the filter unit and then returned to the transformer or storage tank.
- Ensure the oil level indicator on the reservoir is visible and functioning correctly.
Testing and Initial Operation:
Check for Leaks
- After all connections are made, check for any oil leaks around the hoses, pipes, and joints. Tighten any loose connections before proceeding.
- Inspect the vacuum pump and any electrical components for signs of malfunction or improper installation.
Power Up the System
- Turn on the power supply to the filter system and engage the necessary components (vacuum pump, motor, filtration unit).
- Set the oil flow rate according to the manufacturer’s guidelines for optimal purification. Some systems may have adjustable flow rates based on the oil’s contamination level.
Run the System
- Let the system run for a short period and observe its performance.
- Check the system’s vacuum level, oil temperature, and flow rate to ensure that it is operating within the manufacturer’s specifications.
- Monitor the pressure gauges and oil quality at the output to confirm that the contaminants are being removed effectively.
- For centrifugal or filtration systems, ensure that the oil is being filtered properly and that solid contaminants are being removed.
Monitor the Output Quality
- During initial operation, check the quality of the output oil. You may want to perform a quick oil analysis (e.g., checking moisture levels or acidity) to ensure that the purification process is working as expected.
- Some systems may also have automated monitoring systems that alert you to any irregularities or filter blockages.
Post-Installation Steps:
Routine Maintenance and Monitoring
- Schedule regular maintenance checks for the oil filter system, such as replacing filter elements, cleaning the system, or regenerating adsorbents as needed.
- Ensure that you clean and inspect the system periodically to avoid clogging or decreased efficiency.
Disposal of Waste Materials
- Properly dispose of any waste oil, sludge, or contaminants removed during the purification process. This is important for environmental compliance.
- Check if the filtration system includes any waste collection tanks or filters that need to be cleaned or replaced periodically.
Track Oil Quality
- Periodically test the quality of the oil after purification (checking moisture, sludge, and acidity levels) to confirm that the filter system continues to function effectively.
Safety Considerations:
- Always follow lockout/tagout procedures when working around transformers and electrical equipment.
- Wear proper PPE (personal protective equipment), including gloves, goggles, and protective clothing, to avoid exposure to oils and chemicals.
- Ensure that the oil filter system is properly grounded and that electrical safety standards are met.
- Make sure to have an emergency shut-off valve or pressure relief valve to handle any unexpected pressure buildup.
Conclusion:
Proper installation of a transformer oil filter system is critical to ensuring the efficiency and longevity of both the oil and the transformer. By following the correct steps for system setup, maintenance, and monitoring, you can significantly reduce the likelihood of transformer failures due to contaminated oil. If you are unsure about any part of the installation process, it’s always a good idea to consult the manufacturer’s manual or hire a professional for assistance.
If you have a specific type of oil filter system in mind or need more detailed instructions for your system, feel free to ask!